

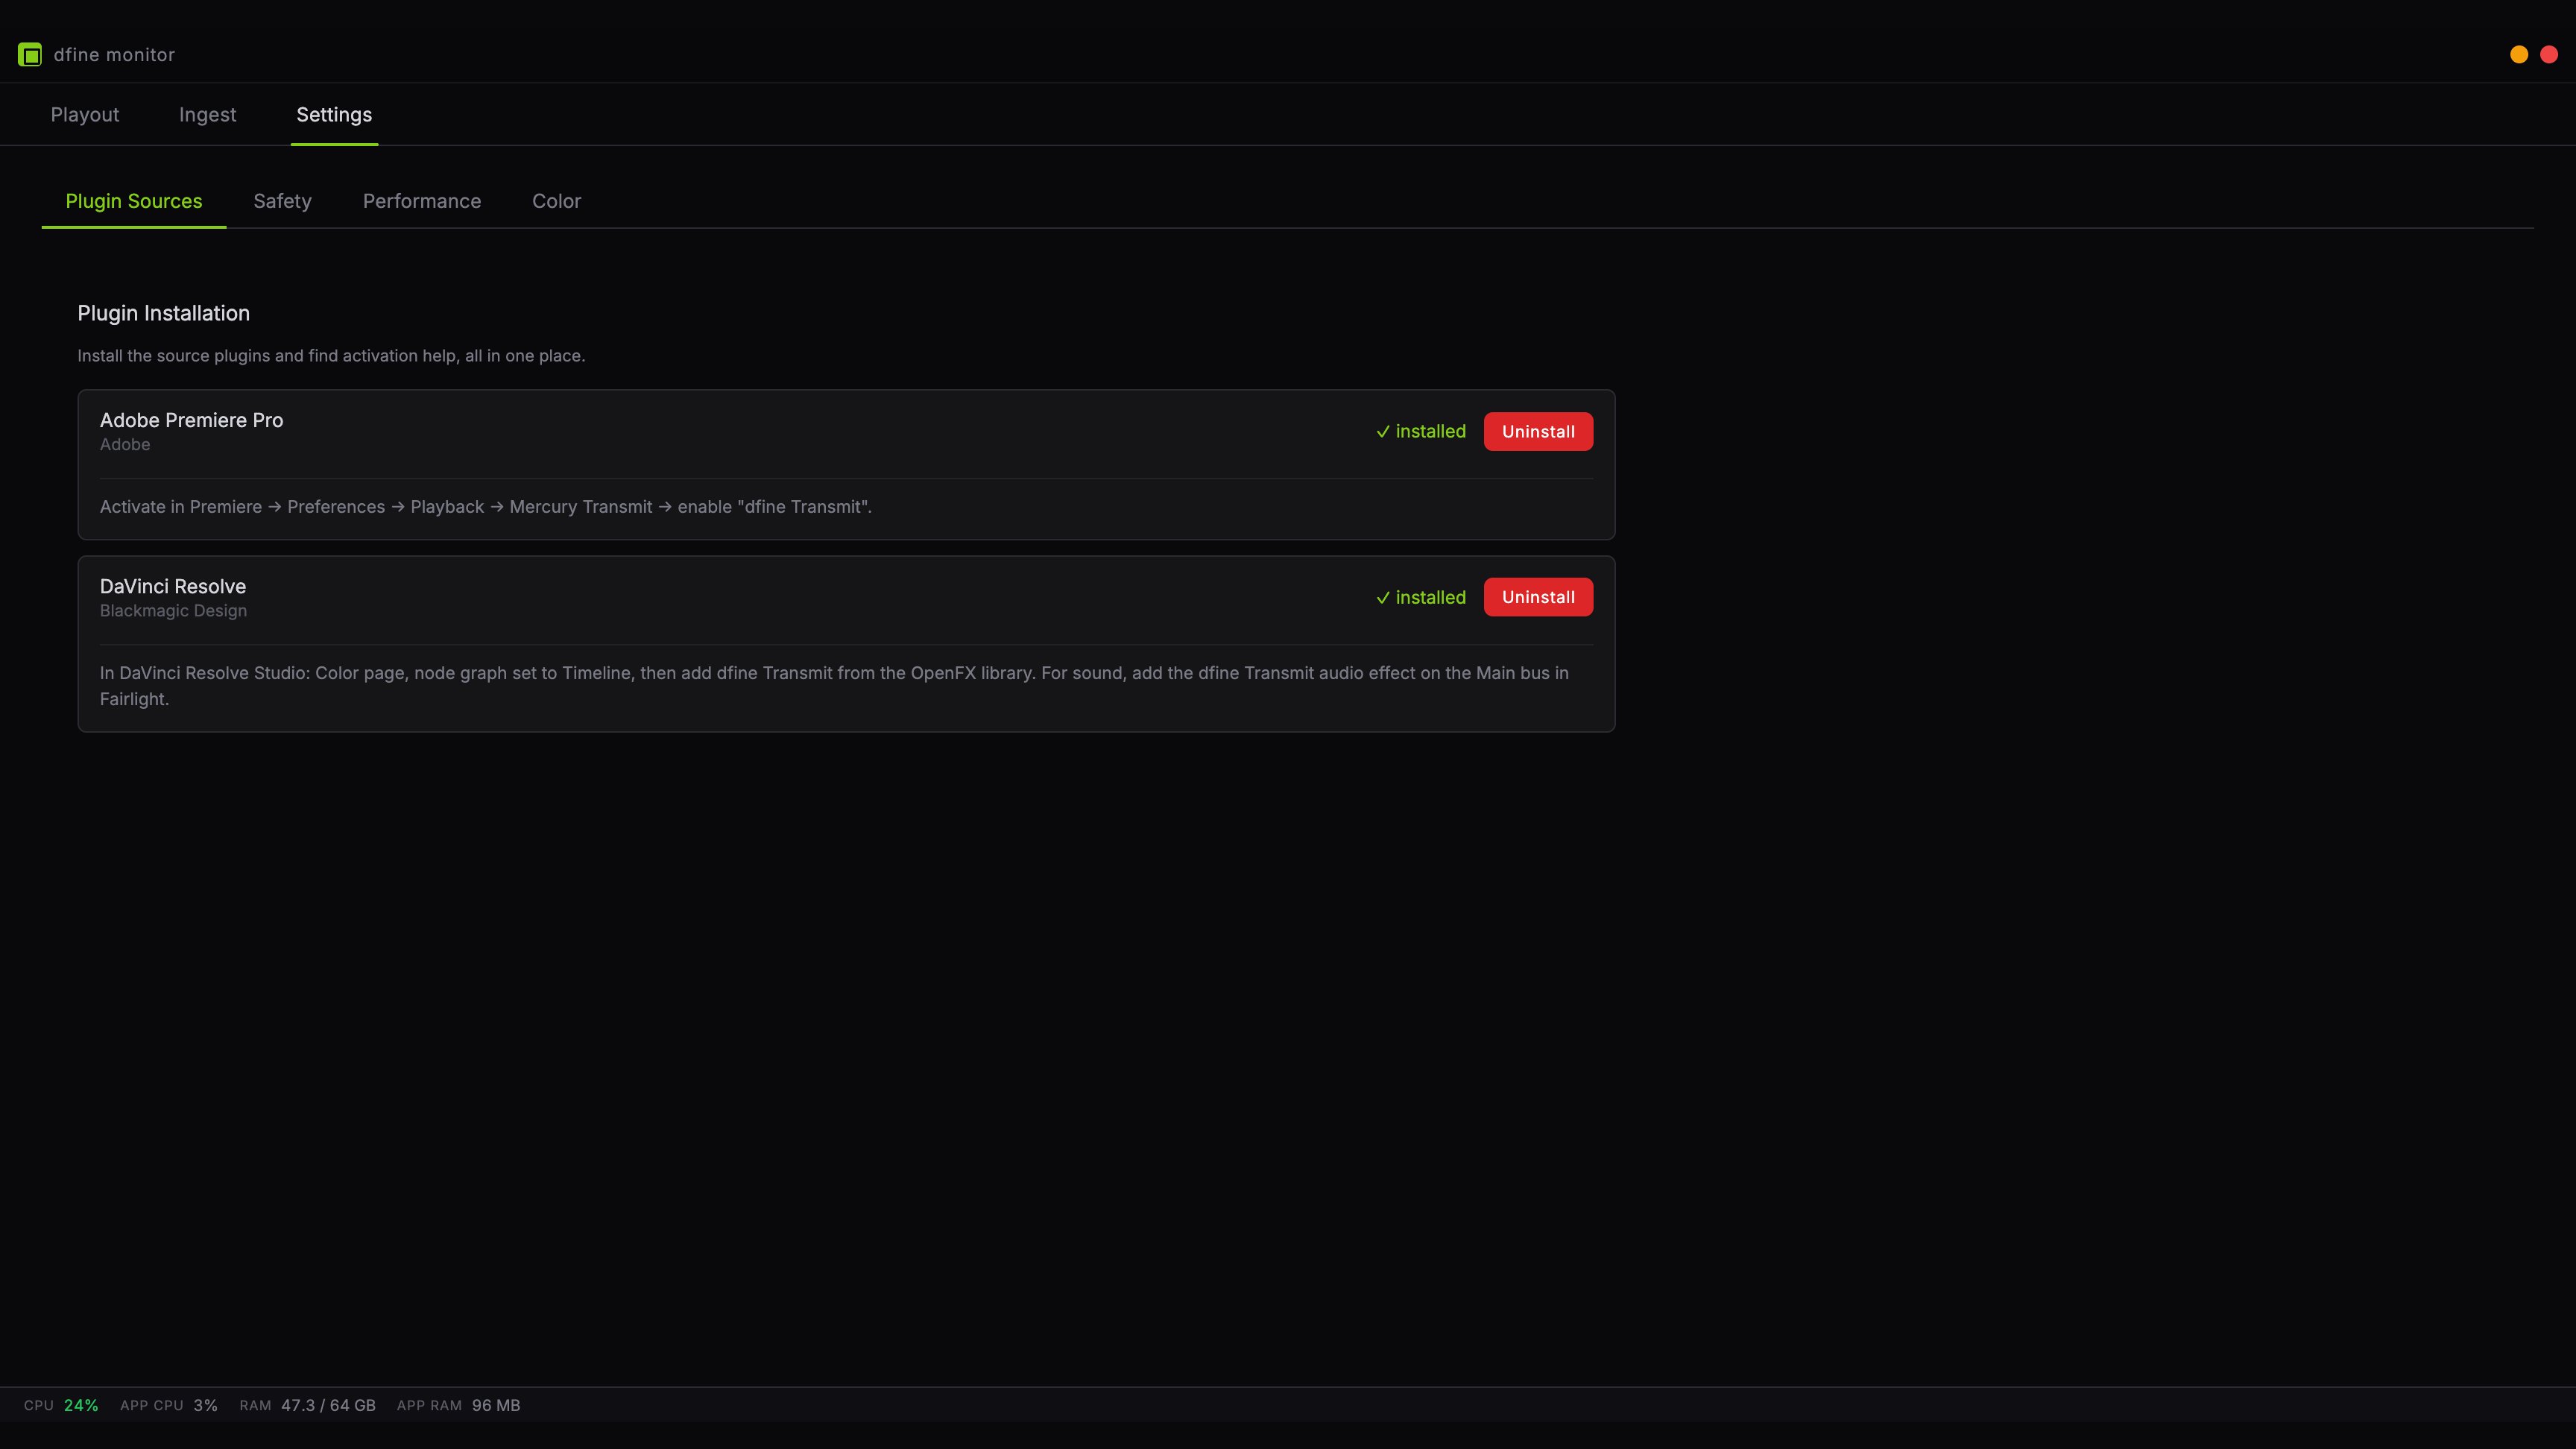
What a row tells you
Each supported application gets one row with its current state. Installed means the plugin is in place and the application can load it. The button next to it removes it again. Not installed means the application was found on this machine, but the plugin is missing. Install it here. Host application not detected means the app could not find Premiere or Resolve on this machine. Install the application first, then come back. Under each row you find the activation hint for that application, so you know what to do next without leaving the app.Installing
Click Install. For DaVinci Resolve, macOS asks for your password, because OpenFX plugins live in a system folder that is shared by all users. Premiere installs into your personal plugin folder and needs no password.Removing
Uninstall takes the plugin out again. Your projects are unaffected, but a timeline that still has the effect on it will show it as missing until you remove it there too.Where the plugins go
DaVinci Resolve gets two pieces: the OpenFX plugin for picture and an Audio Unit for sound. Both are installed together when you click Install.
Next
Set up Premiere Pro
Switch on Mercury Transmit and pick the device.
Set up DaVinci Resolve
Add the effect to the timeline node.