The Screen Sharing row in dfine.io Studio sends a whole display, one window or one app. Pick one app to show your editor, grading tool or presentation while everything else on your desktop stays private. You need dfine.io Studio and a Review room or a Streaming Classic stream.

1. Choose what to share

1

Open the gear

In Studio’s Sources panel, click the gear on Screen Sharing.
2

Pick the method

Choose whether you share a display, a window or an app, then pick it.
3

Allow the recording

The first time, macOS asks for Screen & System Audio Recording. Allow it. If the preview stays black, restart Studio.

2. Pick where it goes

In Review, open the room and create a source with the type WHIP, or use Quick Create. Click Copy Stream Key.In Studio’s Stream panel, set Destination to dfine.io Review. Server reads dfine.io Review · WHIP, fixed. Paste the key into Stream Key.
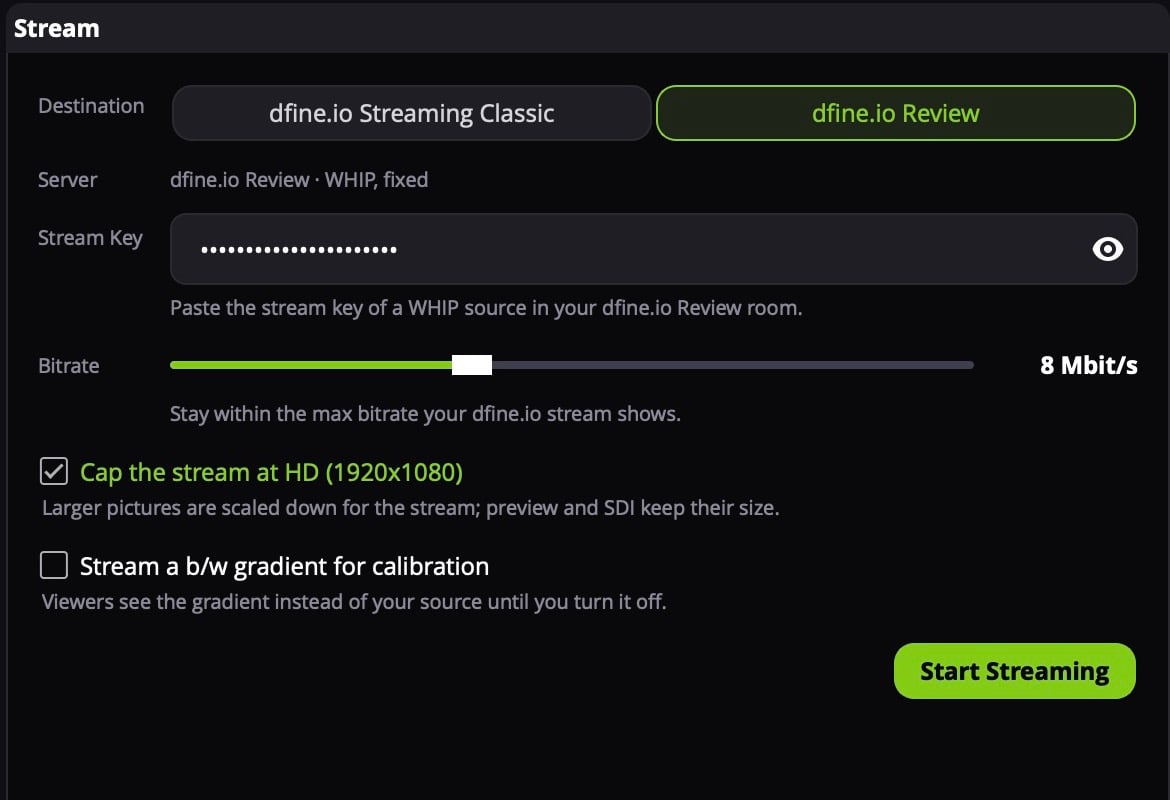
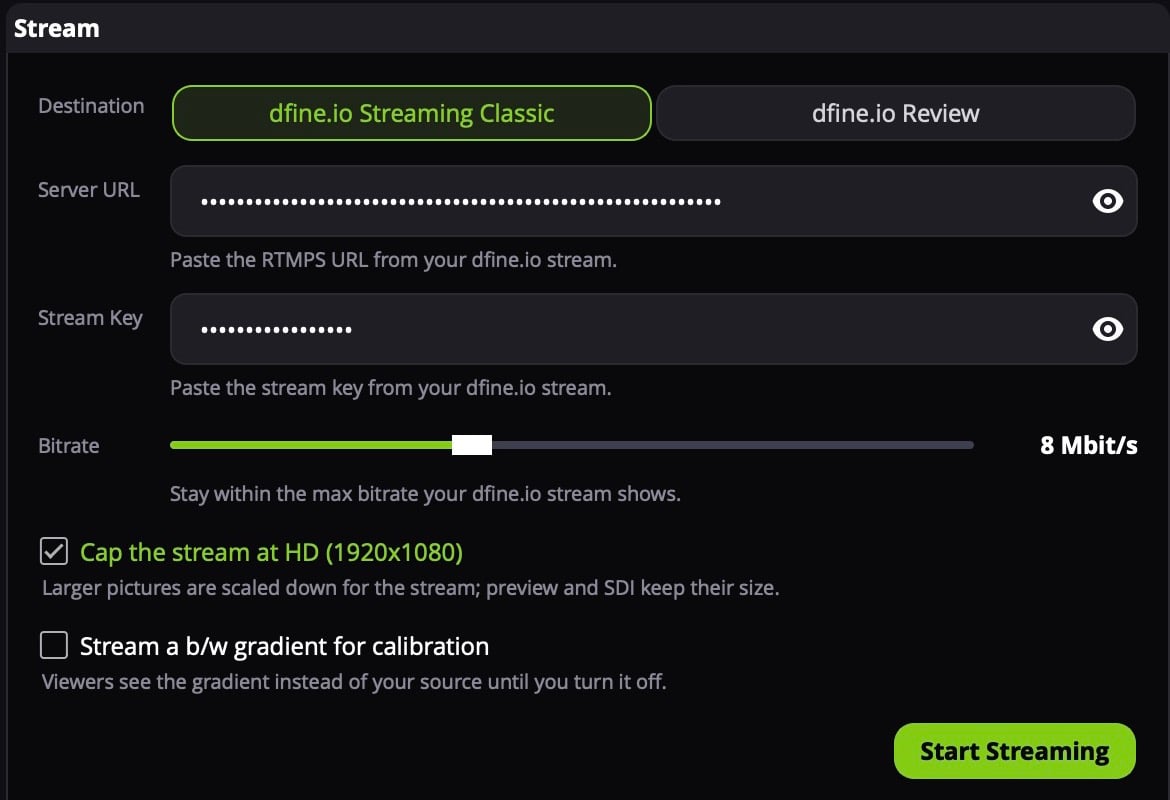
The Stream panel with Destination set to dfine.io Review and a stream key pasted
Paste the key of a WHIP source. Review refuses the key of an RTMPS source, those are meant for hardware encoders. Where the key is: stream key and server URL of a room.

3. Start

Click the Screen Sharing row to put it on air. The preview at the top shows exactly what goes out. Click Start Streaming.
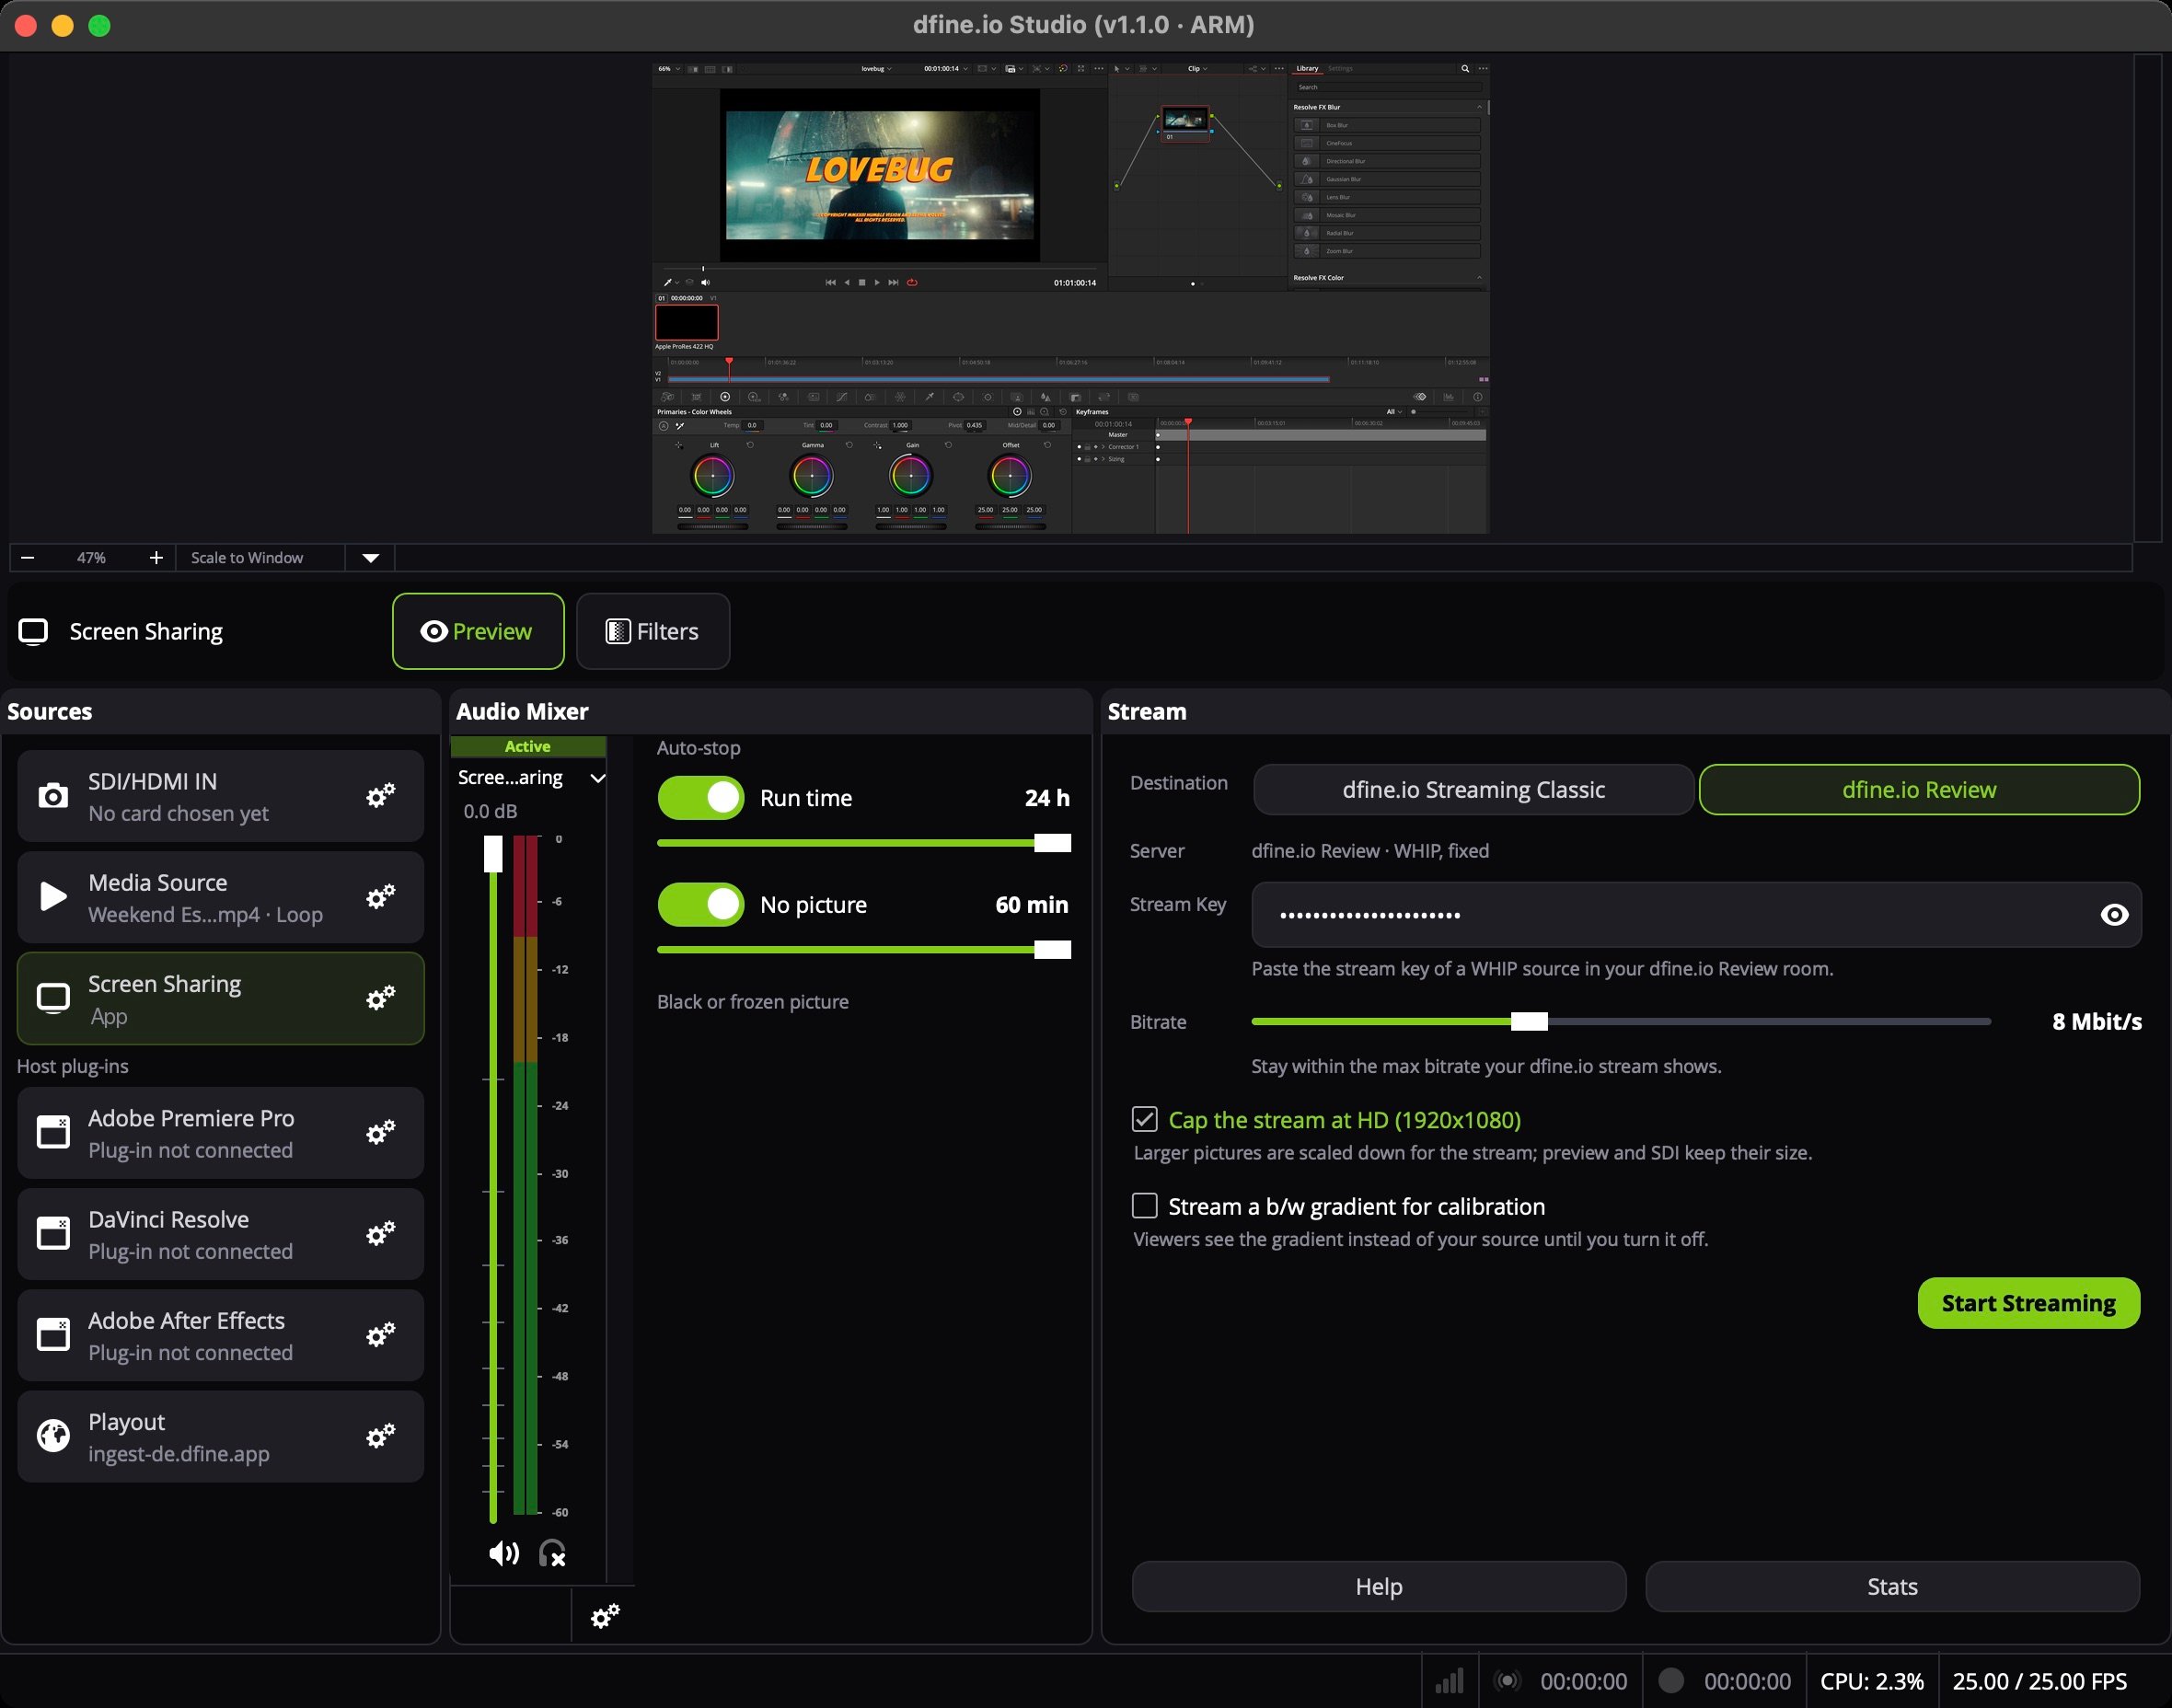
dfine.io Studio with Screen Sharing on air and a shared grading app in the preview

When nothing arrives

The preview is black. Studio has no screen recording permission yet. Allow it under System Settings → Privacy & Security → Screen & System Audio Recording and restart Studio. More causes: Streaming from dfine.io Studio.